Introduction
This FAQ was designed to help guide you through expanding the SimpleRisk VM disk size using VirtualBox. This process is involved and requires some steps which could result in data loss if they are done incorrectly. We suggest making sure you have excellent backups of the VM before proceeding. Please note that we are not responsible for any damage to or data loss that may occur by attempting this procedure. Continue with caution, these steps have been proven to be successful and should be for you however, we always advise having proper backups just in case.
This process will require a linux bootable iso, in this example I'm using a live boot CD of Ubuntu 18.04. If you don't have one on hand I would go ahead and start that downloading here: http://releases.ubuntu.com/18.04/
Instruction
Step 1: Increasing the size of the VM VDD
You may have already noticed but VirtualBox does not have the ability to expand the virtual disk space in the user interface, but it does include CLI tools for doing this. For this step you will need to open up a command prompt or terminal. (winkey + r, cmd.exe)
Navigate to your virtualbox location. In this example I am using the default install
location so for me it will be:
cd “C:\Program Files\Oracle\VirtualBox”

3) Now we resize our VDI copy using the following command. If you want to change the size from my example (15GB) the resize flag works by declaring how many MB it will be:
VBoxManage modifymedium “C:\Users\Dorian\VirtualBox VMs\simplerisk-20190105-001\simplerisk-20190105-001-disk001.vdi” --resize 15360

Step 2: Setting Up to Boot Live ISO
Right click your VM in VirtualBox and go to “Settings”. In the “Storage” tab if you see a CD/DVD drive listed go ahead and click it. If you do not see one click blue drive icon with a “+” on it near the center at the bottom and select “Add Optical Drive”. Now that you have your drive ready we must load it with the ISO in our example we are using Ubuntu 18.04 as mentioned before.
Click the CD/DVD drive in the list and on the right hand side click the blue disc icon and then click “Choose virtual optical disk file” . Now select the ISO from where ever you downloaded it to. Last for this step check the “Live CD/DVD” checkbox, once done it should look something like this.

Step 3: Booting from the Live ISO
Boot the VM in my experience as long as the disk is considered present it will boot from it. If for any reason it doesn’t you can select the boot order by right clicking the VM and going to the “Settings” menu then in the “System” menu you can adjust the the boot order as shown below.

Step 4: Using Ubuntu to expand the partition
Your VM should now attempt to boot from the Ubuntu ISO use the “Try Ubuntu” option to boot into Ubuntu 18.04. The following procedure is the most important to get correct and I will break this part up into smaller steps.
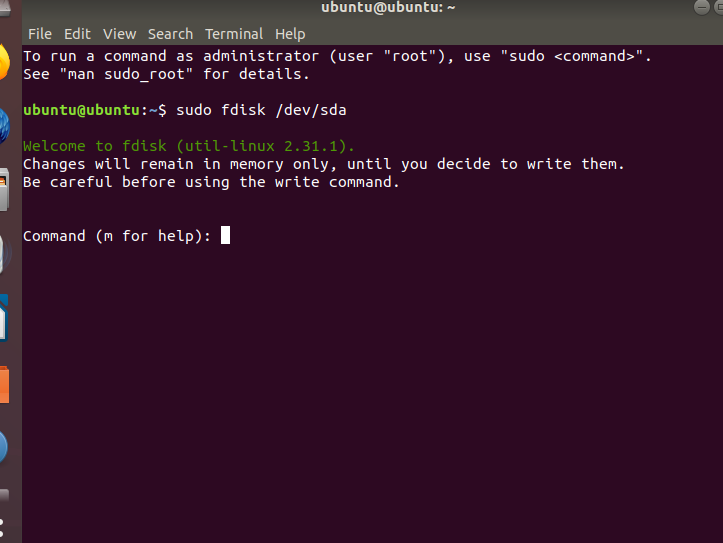
1) Open Terminal you can open it from Applications menu we used before just search for Terminal this time.
2) From terminal use “sudo fdisk /dev/sda”
3) Press “p” to print out the current partition scheme. Write down where sda5 starts.
4) Press “d” to delete sda5 first then sda2.

5) Press “n” to create a new partition, press “e” to select extended and number it 2. The defaults for start and end should be fine.
6) Press “n” again this time it should create logical partition 5. Set the first sector to the one recorded in step 8 (Most likely: 1501184).The end value should be the default one which is as far out as it can go.
7) Press “p” and verify everything looks correct.
8) Press “w” to write the changes out.
Summary
These steps will have guided you through expanding the disk space on a SimpleRisk VM using VirtualBox. If you have found any instructions to be incorrect or lacking detail please contact us at support@simplerisk.com